
Imagine driving with your favorite tunes blasting through a powerful wireless car stereo—no wires, no hassle, just pure sound. If you’ve ever wondered how to upgrade your ride quickly and easily, you’re in the right place.
Installing a portable wireless car stereo might seem tricky, but with the right steps, you can do it yourself without stress. In this guide, you’ll discover simple, clear instructions that make the process smooth. Ready to transform your driving experience?
Keep reading, and let’s get your music playing like never before.
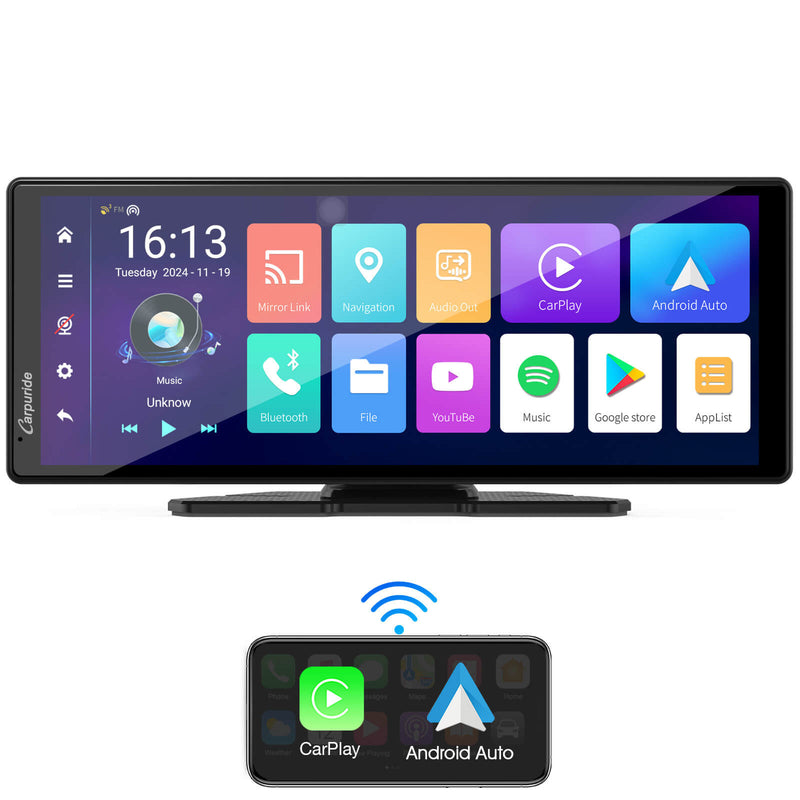
Credit: carpuride.com
Choosing The Right Stereo
Choosing the right portable wireless car stereo is important for a great music experience. It affects sound quality, ease of use, and how well it fits your car. Knowing the types, features, and compatibility helps you pick the best stereo for your needs.
Types Of Portable Wireless Car Stereos
There are several types of portable wireless car stereos. Bluetooth receivers connect to your phone and car speakers. FM transmitters send music through your car’s radio frequency. Portable speakers offer easy setup and strong sound. Each type fits different needs and budgets.
Key Features To Look For
Look for clear sound and strong wireless connection. Battery life matters for longer trips. Easy controls let you change songs or volume quickly. Some models include hands-free calling for safer driving. A compact size helps with easy installation and storage.
Compatibility With Your Vehicle
Check if the stereo works with your car’s audio system. Some stereos need an auxiliary input or USB port. Others connect only through Bluetooth or FM signals. Make sure the stereo fits your car’s space and power source. Compatibility ensures smooth use and better sound quality.
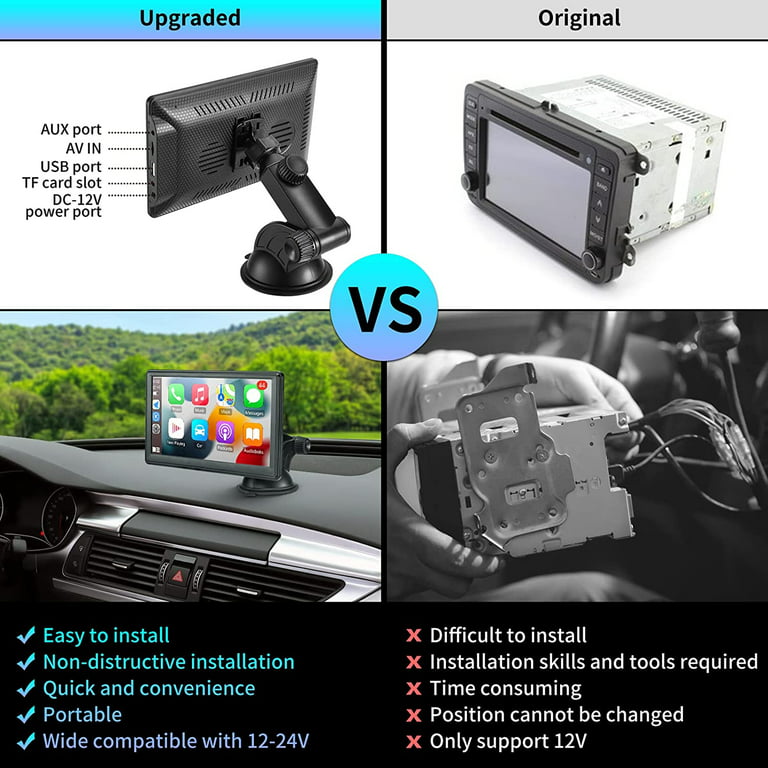
Credit: www.walmart.com
Gathering Necessary Tools
Before installing a portable wireless car stereo, gather all needed tools. Having the right tools makes the process smooth and safe. It saves time and avoids damage to your car or device. Start by knowing which tools are essential and which ones are optional.
Basic Tools Required
You will need a few basic tools for installation. A screwdriver set is essential, including both flathead and Phillips heads. A wire stripper helps prepare wires for connection. Electrical tape secures and insulates wire joins. A panel removal tool helps take off car panels without damage. A multimeter can check electrical connections and battery voltage. Keep these tools handy for a clean and easy setup.
Optional Accessories For Installation
Some extra accessories can make installation easier and safer. Cable ties keep wires organized and out of sight. A cordless drill speeds up the process when mounting the stereo. A fuse tap kit helps connect the stereo to the fuse box safely. Heat shrink tubing protects wire connections from moisture and wear. These accessories are not required but improve the overall quality of your installation.
Preparing Your Car
Preparing your car is the first step to install a portable wireless car stereo. This step ensures safety and smooth installation. You must handle the car’s electronics carefully. Follow simple steps to get ready.
Locating The Existing Stereo
Start by finding your current car stereo. It is usually in the dashboard center. Look for screws or panels around it. These often hold the stereo in place. Use a screwdriver to remove them gently. Pull the stereo out slowly to see the wiring behind. Take note of the wires and their colors. This helps when connecting the new stereo later.
Disconnecting The Battery Safely
Always disconnect the car battery before working on the stereo. This stops electrical shocks and short circuits. Open the car hood and find the battery. Use a wrench to loosen the negative terminal first. Remove the cable and keep it away from the battery. This step protects you and your car’s electronics. Do not touch any wires until the battery is disconnected.
Removing The Old Stereo
Removing the old stereo is the first step to install a portable wireless car stereo. It needs care and attention to avoid damage to your car’s dashboard or wiring. Follow these simple steps to take out the old unit safely.
Detaching The Dashboard Panels
Start by gently removing the dashboard panels around your stereo. Use a plastic pry tool or a flat screwdriver wrapped in cloth. This prevents scratches on the dashboard. Work slowly to release the clips holding the panels in place. Avoid pulling too hard, or the panels might crack.
Unplugging Wiring Harnesses
Once the panels are off, you will see the wiring harnesses connected to the stereo. Carefully unplug each connector by pressing the release tab. Keep track of each wire and connector for easy reinstallation. Avoid pulling on the wires directly to prevent damage.
Taking Out The Old Unit
With the wiring disconnected, unscrew the mounting screws holding the stereo. Slide the unit out of the dashboard gently. Check for any additional clips or brackets that might still hold the stereo. Keep the screws safe for installing your new portable wireless stereo.
Installing The New Stereo
Installing the new stereo in your car is a step that requires careful attention. This process includes connecting wires, placing the stereo securely, and putting the dashboard back together. Follow each step to ensure your stereo works perfectly and stays in place during your drives.
Connecting The Wiring Harness
Start by matching the wiring harness from the stereo to the car’s connector. Each wire color should match with its pair. Connect the wires firmly to avoid loose connections. Use electrical tape or wire connectors to secure the joins. Double-check each connection before moving on.
Securing The Stereo In Place
Slide the stereo into the dash opening carefully. Make sure it fits snugly without forcing it. Use the screws or brackets that came with the stereo to hold it firmly. Tighten all screws evenly to prevent movement. A loose stereo can cause noise and damage over time.
Reattaching Dashboard Panels
Place the dashboard panels back over the stereo carefully. Align clips and screws to their original positions. Press panels firmly until you hear clicks from the clips locking. Use screws to secure panels if needed. Check that all panels sit flush and look neat.
Setting Up Wireless Features
Setting up the wireless features of your portable car stereo lets you enjoy music without cables. It makes playing songs easy and keeps your car clutter-free. This section guides you through the simple steps to connect your devices and check the wireless connection.
Pairing With Your Devices
Turn on the car stereo and activate its Bluetooth mode. Open the Bluetooth settings on your phone or tablet. Look for the stereo’s name in the list of available devices. Tap to connect and wait for confirmation. Some models may ask for a code; usually, it is “0000” or “1234.” Once paired, your device remembers the stereo for future use.
Configuring Bluetooth Settings
Access the stereo’s Bluetooth menu for extra options. You can set the device to auto-connect when in range. Adjust the volume or change the device priority if you have multiple paired gadgets. Some stereos allow you to rename the Bluetooth device for easy identification. Keep the settings simple for quick use.
Testing Wireless Connectivity
Play a song or a podcast on your paired device. Check if the sound comes clearly from the car stereo speakers. Move your phone around to test the connection strength. If the sound drops or cuts off, reduce the distance or remove obstacles. Confirm the stereo reconnects automatically after turning off and on.
Final Checks And Troubleshooting
After installing your portable wireless car stereo, it is important to perform final checks. These steps confirm the device works correctly. Troubleshooting helps fix common problems fast.
Powering On And Audio Testing
First, turn on your car stereo. Check if the power light appears. Listen to the audio output carefully.
Connect your phone or device via Bluetooth. Play a song or audio file. Make sure the sound is clear and loud enough.
Adjust volume controls on both the stereo and your device. Test different audio sources to ensure full function.
Resolving Common Installation Issues
If the stereo does not power on, check the wiring connections. Look for loose or disconnected wires. Secure all plugs firmly.
No sound? Confirm Bluetooth is paired and connected. Restart your device and the stereo. Try reconnecting the wireless link.
Static or poor sound quality can mean interference. Move devices away from other electronics. Try a different audio source.
If problems persist, consult the user manual. Follow step-by-step troubleshooting tips. Contact customer support if needed.
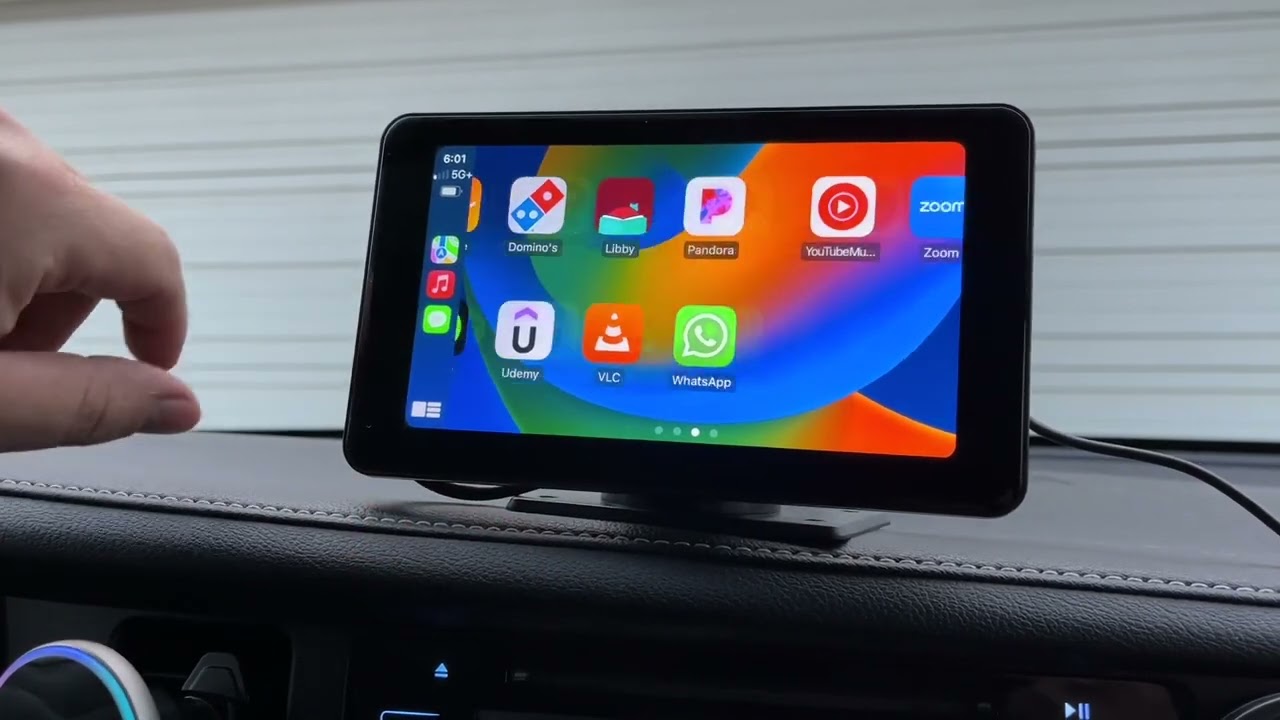
Credit: www.youtube.com
Maintaining Your Portable Stereo
Maintaining your portable wireless car stereo is key to long-lasting use. Regular care keeps sound quality high and the device working well. Small habits help avoid damage and costly repairs. Follow simple steps to keep your stereo fresh and updated.
Cleaning And Care Tips
Use a soft cloth to wipe the stereo’s surface. Avoid harsh chemicals; water or mild soap works best. Keep the device dry to prevent damage. Store the stereo in a cool, dry place when not in use. Protect it from dust and direct sunlight. Handle cables gently to avoid breaks. Clean speaker grills carefully to stop dirt build-up. These small steps keep your stereo looking and working great.
Software Updates And Upgrades
Check for software updates regularly. Updates fix bugs and improve performance. Connect your stereo to Wi-Fi or a computer for updates. Follow the manufacturer’s instructions carefully. Upgrading software can add new features. Keep your stereo compatible with new devices. Avoid skipping updates to maintain smooth operation. Staying current helps your stereo work better and last longer.
Frequently Asked Questions
What Tools Are Needed To Install A Wireless Car Stereo?
You need a screwdriver, wire stripper, electrical tape, and a wiring harness adapter. These tools help secure and connect the stereo safely.
How Do I Connect A Portable Wireless Car Stereo?
Connect the stereo to your car’s power source and speakers using the wiring harness. Pair it with your phone via Bluetooth for wireless use.
Can I Install The Stereo Without Professional Help?
Yes, many portable wireless car stereos are designed for easy DIY installation. Follow the manual carefully for a safe setup.
How Do I Power A Portable Wireless Car Stereo?
Use the car’s 12V power outlet or connect directly to the battery with proper wiring. Ensure a stable power supply to avoid interruptions.
Conclusion
Installing a portable wireless car stereo is simple and quick. Follow the steps carefully for a smooth setup. Enjoy music without wires and keep your car neat. This device fits well in any vehicle. It also offers clear sound and easy controls.
Take your time and double-check connections. Your drive will feel more enjoyable and fun. Try it today and hear the difference yourself.